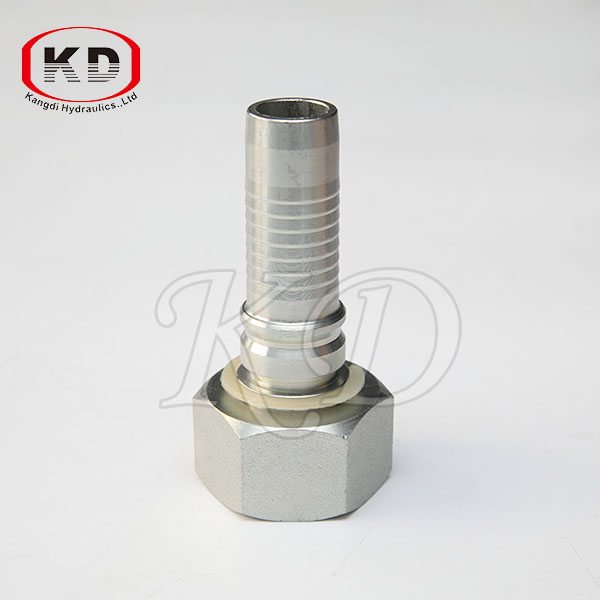
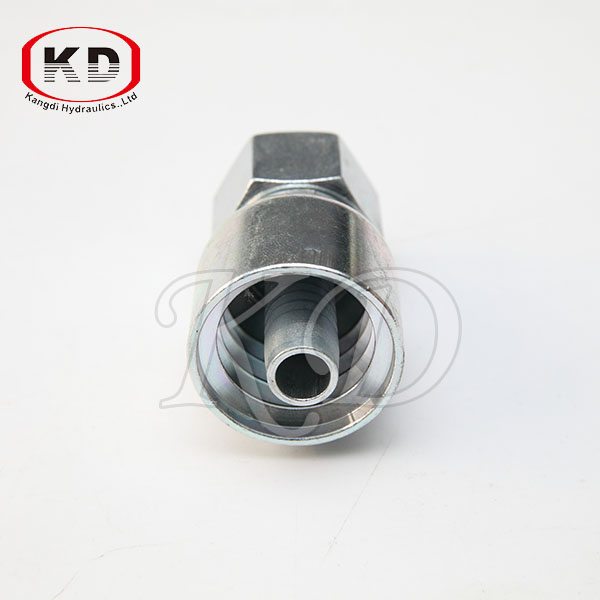
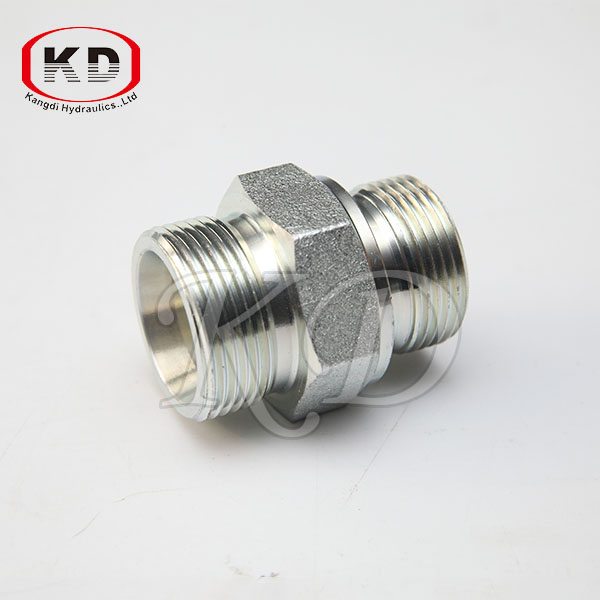
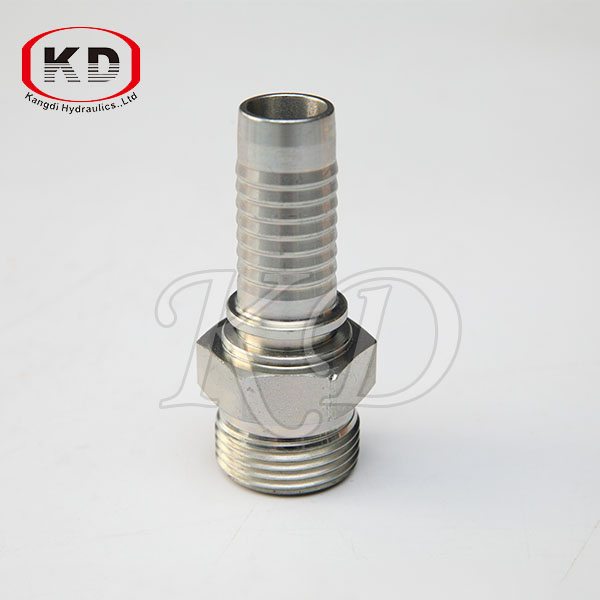
factory wholesale good quality 24211 Swaged Hose Fiting for Bahrain Importers
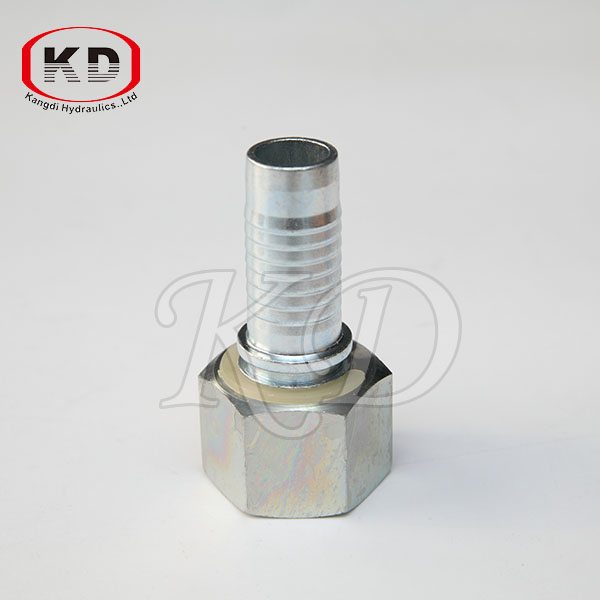
factory wholesale good quality 24211 Swaged Hose Fiting for Bahrain Importers Detail:
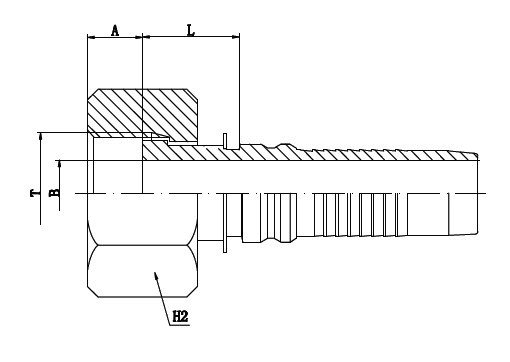
ORFS FEMALE
|
PART NUMBER |
HOSE
|
THREAD T |
B mm |
L mm |
A mm |
H1 mm |
H2 mm |
||
|
|
DN |
In |
SIZE |
|
|
|
|
|
|
| H242A1 – 10 – 10 | 16 | 5/8″ | 10 | 1″ – 14 | 12 | 36,6 | 13,5 | 24 | 30 |
| H242A1 – 12 – 12 | 20 | 3/4″ | 12 | 1.3/16″ – 12 | 15 | 40,4 | 14,5 | 28 | 36 |
| H242A1 – 16 – 16 | 25 | 1″ | 16 | 1.7/16″ – 12 | 19 | 43,7 | 15 | 36 | 41 |
| H242A1 – 20 – 20 | 32 | 1.1/4″ | 20 | 1.11/16″ -12 | 26 | 46 | 15 | 41 | 50 |
| H242A1 – 24 – 24 | 40 | 1.1/2″ | 24 | 2″ – 12 | 32 | 49,9 | 15 | 50 | 60 |
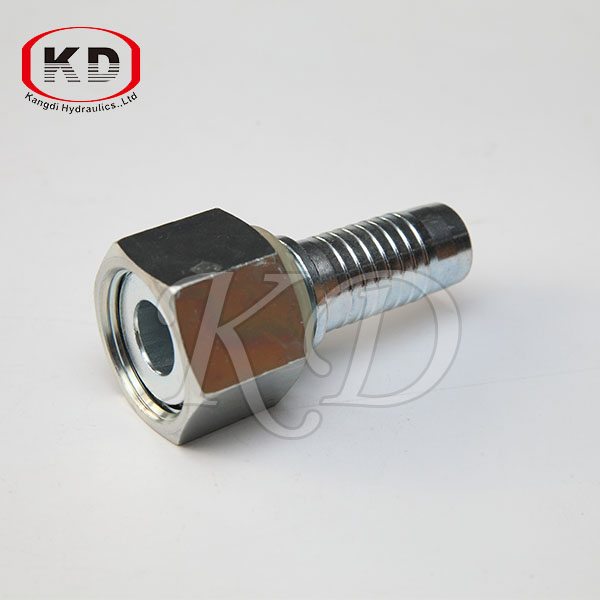
Product detail pictures:
Related Product Guide:
Tube Fittings and Pipe Fittings – Double Ferrule Tube Fittings
Understanding Hydraulic Hose Fittings
All we do is usually affiliated with our tenet Buyer to start with, Belief to start with, devoting about the food packaging and environmental defense for factory wholesale good quality 24211 Swaged Hose Fiting for Bahrain Importers, The product will supply to all over the world, such as: belarus, Cyprus, Toronto, Our products are widely recognized and trusted by users and can meet continuously developing economic and social needs. We welcome new and old customers from all walks of life to contact us for future business relationships and achieving mutual success!
We wanted to help guys just starting out in pressure washing understand the basics of setting up a pressure washing trailer. This is the first video. It goes over plumbing and tank issues of set up. Subscribe to our site and we will continue to post videos to help you out.
Part available on Amazon: https://amzn.to/2q7HEON
The Motor Driven Power Steering, or MDPS, Coupler is a common failure for these vehicles. It causes a clunking noise while steering. It is a simple rubber coupler that gets shredded over time. This specific car had 75,000 miles on it when it failed. We’ll show you how to replace it.
MDPS Rubber Coupler: https://amzn.to/1IH2X1N
이제 한국어 자막을 사용하실 수 있습니다.
자막 버튼을 누르신 후 설정에서 원하시는 언어를 선택해주시기 바랍니다.
01:42 – Remove Covers
———– Remove Bolts Behind Steering Wheel, Re-Center Steering, and Then Disconnect Battery
02:20 – Remove Metal Shield
02:48 – Remove AC Duct
03:30 – Loosen Steering Column
———– See 23:27 For Back Bolts
04:20 – Disconnect Plugs and Mounts
———– Lower Steering Column
08:52 – Unbolt Computer from Motor
10:40 – Remove Bracket Plate
12:08 – Remove Computer from Motor
12:32 – Unbolt Motor
12:55 – (Optional) Disconnect Steering Shaft
13:55 – Remove Motor
15:01 – Remove Debris
17:04 – Install New Part
18:06 – Connect Motor
20:56 – Bolt Motor
21:27 – Install Computer
22:02 – Install Bracket Plate
23:55 – (Optional) Install Steering Shaft
———– (Optional) See 24:56 About Installation
24:31 – Bolt Steering Column Back Up
26:00 – Connect Plugs and Mounts
26:34 – Connect Battery, Start Engine, Verify Repair
27:18 – Install AC Duct, Metal Shield, and Covers
28:21 – Final Thoughts
The company has rich resources, advanced machinery, experienced workers and excellent services, hope you keep improving and perfecting your products and service, wish you better!